Diffusion Models in Production
tl;dr In this tutorial, you’ll learn how to deploy diffusion models at scale and build a text-to-image generator
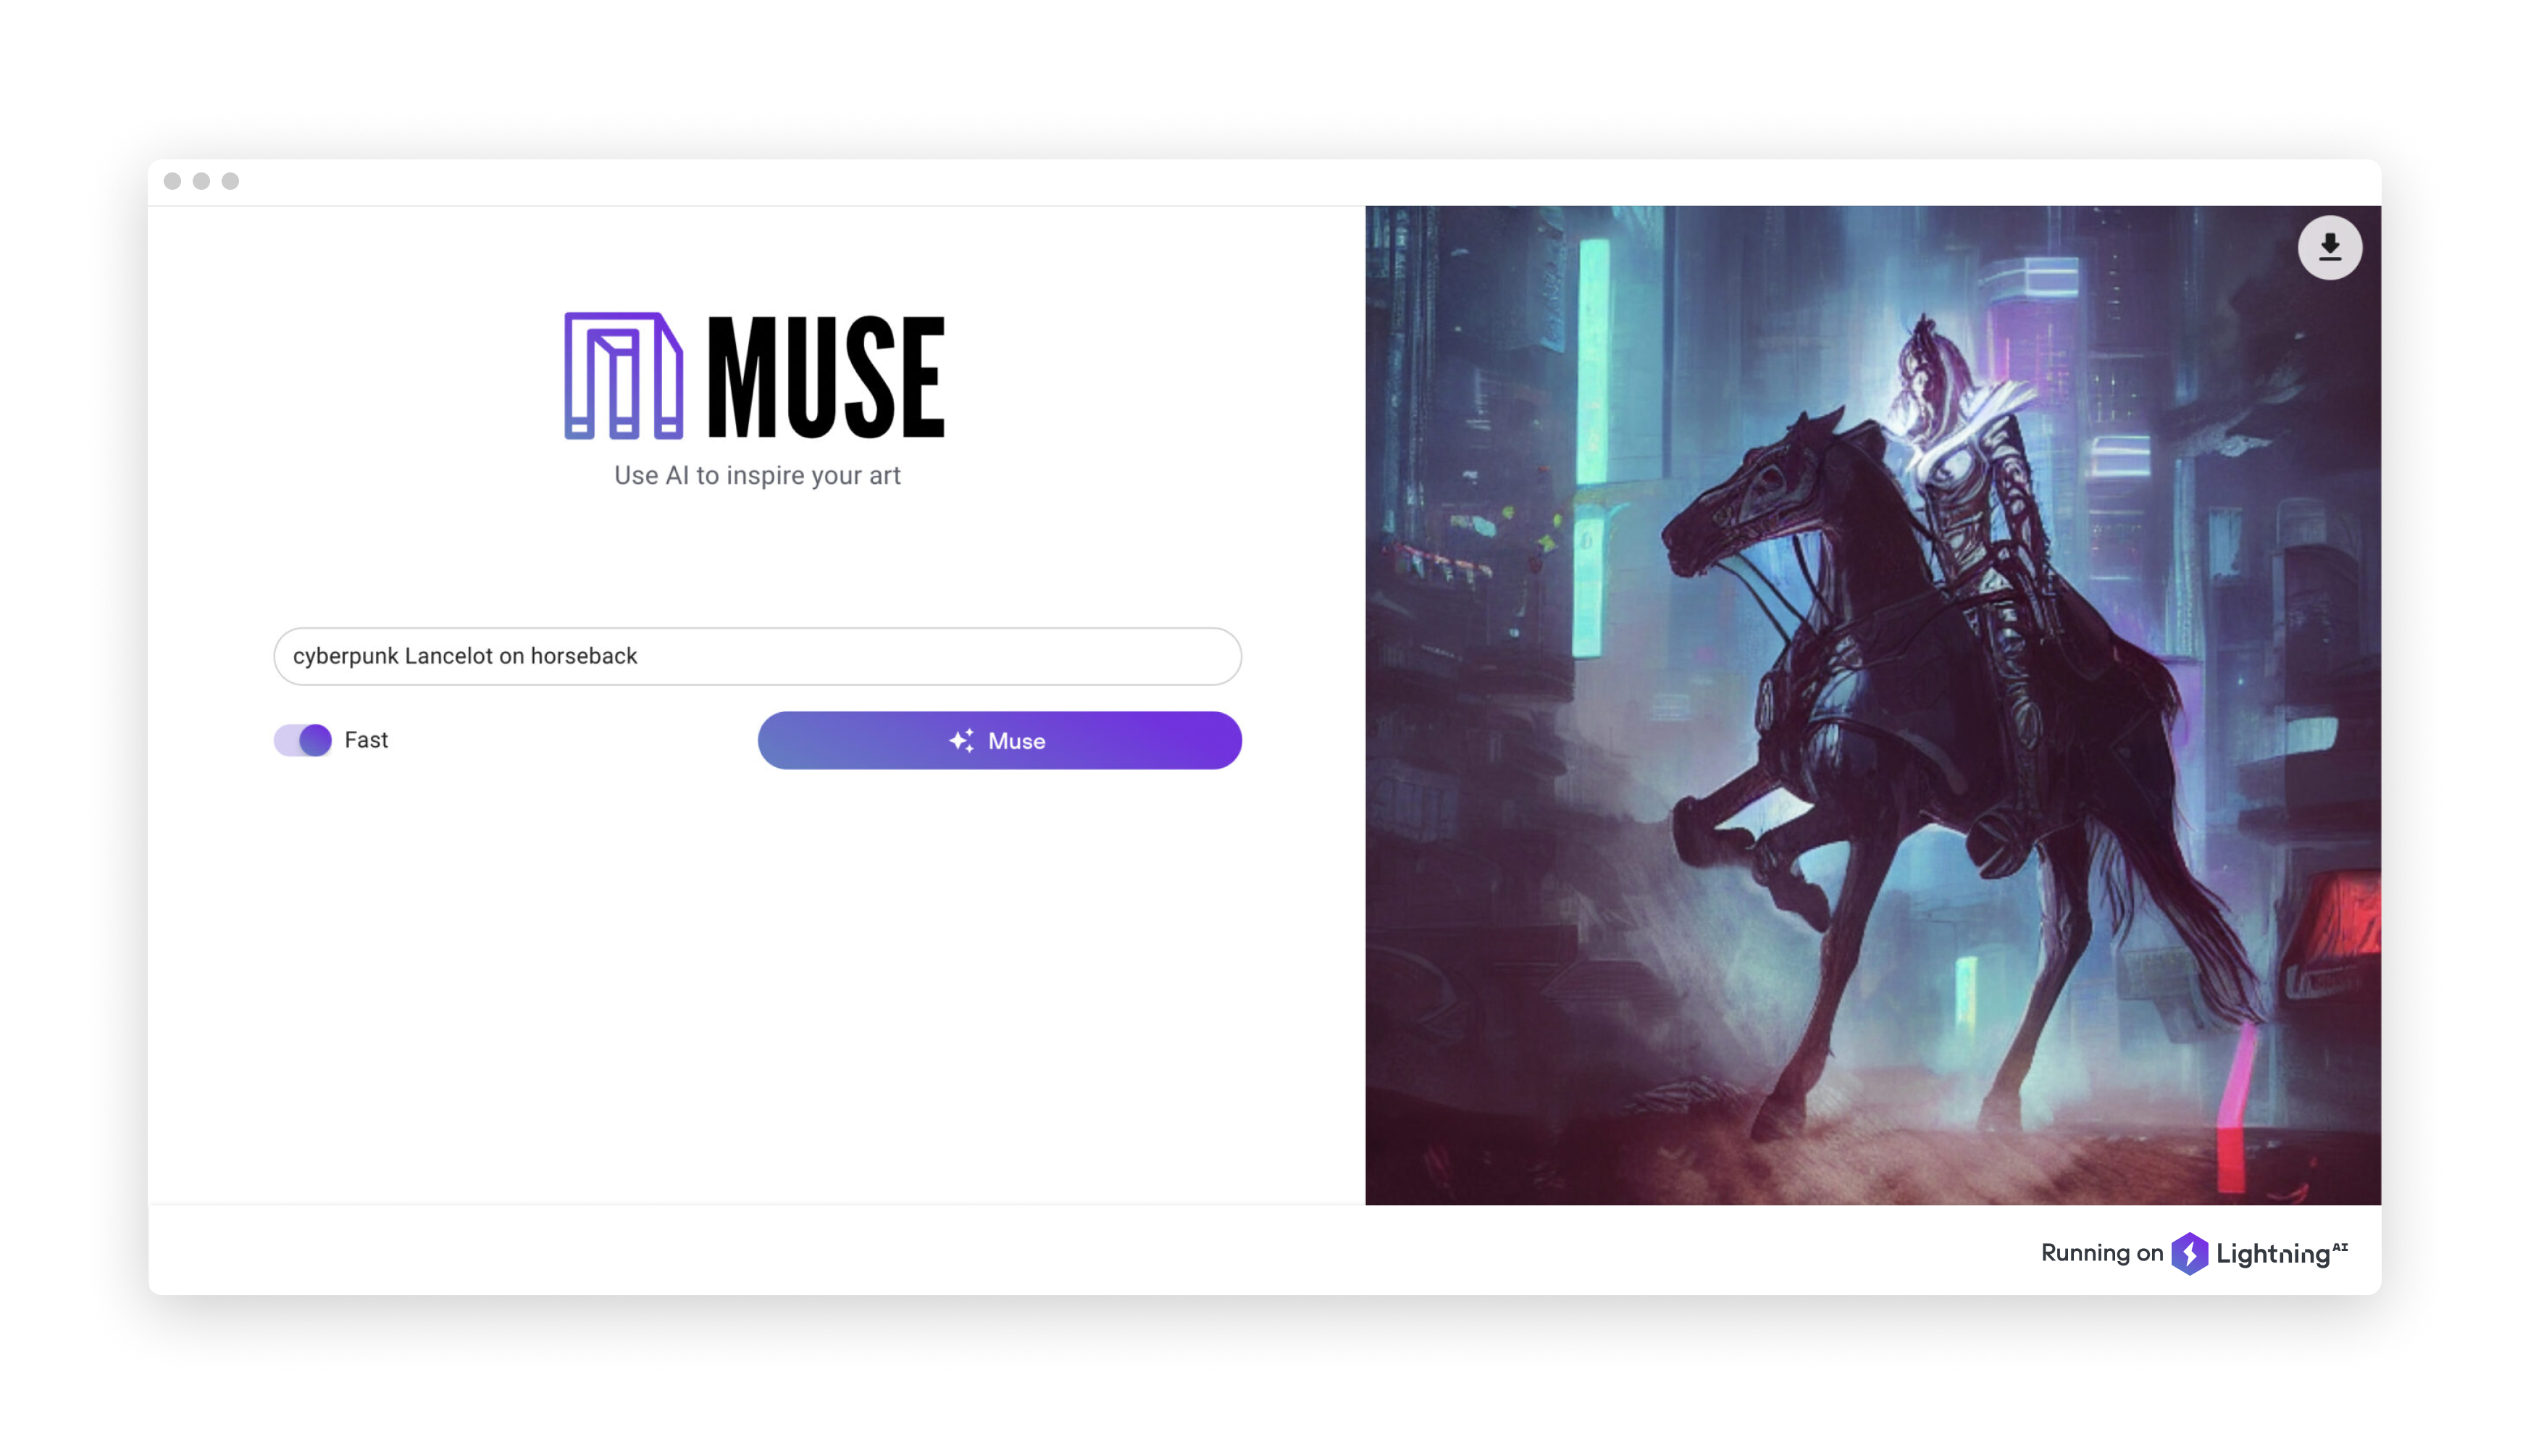
Today, we released Muse: an entirely open-source text-to-image generator built on Stable Diffusion, and a blueprint for building intelligent cloud applications based on diffusion models. Give it a try!
If you’re a part of the AI community, then chances are you’ve probably seen the dizzying speed at which diffusion models (and their applications) are being developed. Diffusion models — a subcategory of deep generative models — are made up of forward and reverse diffusion stages to generate data similar to the data on which they’re trained. At Lightning, we provide a way to deploy diffusion models at scale, which we cover below.
A recent (and open-source) example of a diffusion model is Stability AI’s Stable Diffusion, a text-to-image model that produces high-fidelity images by using 10 GB of VRAM on consumer GPUs to generate a 512x512px image in just a few seconds.
These models are groundbreaking, but deploying them continues to be a bottleneck. Below, we show you how we built a React UI as well as a model server with FastAPI in order to deploy these models easily and quickly with a Lightning App.
In the following sections, we discuss the process of building our first version of Muse, the challenges we faced, and the steps we took to solve them.
· · ·
· · ·
Deploying Stable Diffusion with FastAPI and LightningApp
We implemented a StableDiffusionServe class as a Lightning Work.  Work is a building block for long-running jobs. Use it to download data or train and serve a model.
This Work downloads the Stable Diffusion checkpoint, loads the model, and defines a REST endpoint that returns a base64 image based on the given prompt:
The first version of Muse was a simple web UI for a text to image generator that we implemented using React. One feature we added at the beginning of our iteration process was a toggle that swaps between images generated quickly, and images generated slightly slower but with the added benefit of additional quality. Because Stable Diffusion accepts number of inference steps as an argument, we use 50 steps for our higher-quality mode, and 25 for our faster option.
Once we had completed our simple demo of this Stable Diffusion deployment, we integrated it into our Slack workspace in order to have some fun (we show you how to do this below).
As members of our team started generating more and more images, however, we observed that the model server reached its limit with just 10 concurrent users. Lightning Apps are intended to be more than simple demos — instead, they offer a scalable and reusable way to deploy large models. We therefore experimented with several methods to scale the model serving such that it would handle a burst of hundreds of concurrent users.
· · ·
Autoscaling the Model Servers
One way to scale the concurrency is to run multiple model servers in parallel. We implemented a Load Balancer, again with FastAPI, which sends the request to the model servers in a round-robin fashion.
The goal here was to automatically scale the model servers based on the request traffic. We implemented an autoscale function that runs at a time interval (30 seconds) and checks the number of requests on the server. Then, based on the threshold value, it will add or remove a worker:
· · ·
Dynamic Batching
After implementing autoscaling, we noticed that our model was not processing client requests in parallel, which amounts to a waste of GPU resources. In order to increase throughput, aggregate requests, and process them on each of the model servers, we implemented dynamic batching in the load balancer. Implementing dynamic batching and more servers resulted in scaling Muse’s performance from being able to handle less than 5 to a burst of over 300 concurrent users.
We ran performance tests on our server with and without batching with a different number of model servers.
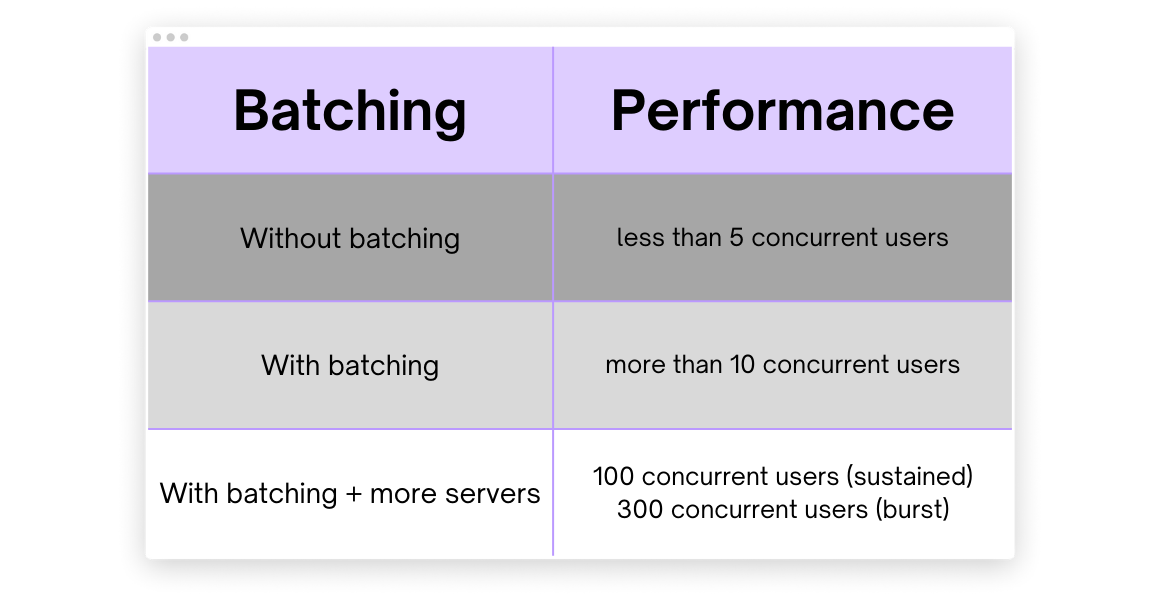
Muse performance based on batching
The load balancer waits for a few seconds to aggregate client requests and sends them as a batch to the model server, thus processing multiple requests in parallel.
To implement the dynamic batching, we put the requests in a queue with a unique id. This queue is consumed by a Python coroutine that waits to aggregate the requests. Once the batch is full or the wait timeout has been reached, it will send the aggregated requests to a model server and the response will be published in a dictionary with the unique id as a key.
After implementing autoscaling and dynamic batching, we were able process a significantly larger amount of requests in parallel and scale out based on the traffic.
· · ·
Turn your App into a Slackbot
In this section, we’ll show you how to share your deployed diffusion model as a Slackbot. One of our Lightning Components is a Slack Command Bot that you can install in your workspace to send AI-generated art in a channel of your choice. Our Slack Command Bot Component provides an easy way to enable interactivity with Slack’s slash commands.
Once you’ve install the Slackbot, simply type /muse <PROMPT> and send the message in a channel where Muse Bot has been added. The bot will post an image generated with your prompt.

This component requires you to inherit the SlackCommandBot class and implement handle_command(...) method. For our purposes, we will implement the handle_command to post image generated using the prompt.
We send the prompt to the Load balancer with a REST API and use the response base64 image for posting to Slack:
· · ·
Wrap-up
We scaled this diffusion model deployment from less than 5 users to 300 concurrent users with Autoscaling and Dynamic batching. We implemented this in pure Python and deployed it quickly and easily with a Lightning App. It manages cloud provisioning, GPU instance selection, disk allocation and other infrastructure challenges that get in the way of deploying diffusion models at scale.
· · ·
Why did we build this?
The internet’s full of text-to-image generators (and now, even text-to-video!). So, you might be asking yourself, why did we spend time developing our own?
Muse isn’t just another image generator — we think of it like a blueprint. Not just for other image generators, but for all kinds of cloud applications powered by AI. We built Muse to show you what Lightning can do, and, even more importantly, what you can do with Lightning. Because Muse is open-source, you can use the code for inspiration on future projects just like this one. All you need to do is select “Clone & Run” to open an instance of Muse on your own Lightning account (think of this like cloning a repo!). From there, you can adjust the code however you’d like.
Normally, building distributed applications (apps that can run and store information on multiple machines) is hard. Lightning does the heavy lifting for you, so all you have to focus on is whatever you’re trying to build. Lightning Apps (like Muse!) define a machine learning workflow that can run on your computer or the cloud, entirely at your discretion. It’s as easy as adding a single flag to your code.
They’re powerful, too – you can have multiple Lightning Works (one of the building blocks of a Lightning App) run in parallel, so that even long-running workloads like model training or deployment can run a Work even while the rest of the Lightning App continues to execute.
There you have it! Muse is all about inspiration, whether that’s for art or distributed cloud applications. In our eyes, those are one and the same.