In this Lightning Bits episode, William and Sebastian talk about one of the most powerful features of Git: branching. They discuss how branching can be used to manage alternate versions of your code, which is incredibly useful for developing and testing new features. Watch the video, or continue reading below.
Managing Code Projects with Git Branching
In the previous episode, we covered the basic concepts and commands behind Git for version control. If you haven’t watched the previous episode, we recommend checking it out before continuing reading.
Git Branching — Why?
In the more traditional workflow, we would create a copy of a file before we make a modification — here, this could be a code file or a text document we are working on. The copy is there to ensure we have the original copy in case we don’t like our changes. However, keeping multiple copies around is very tedious (and also inefficient). Git branching is a way to create and manage changes more elegantly.
By making a new branch in Git, we implicitly make a copy of the Git repository and can make modifications without altering the original. We can have multiple branches at the same time, and the branching mechanism allows us to merge back the changes into the main branch in case we want to adopt them permanently.
This is also very useful in code collaboration. “Useful” is maybe not the right word: it’s pretty much “essential.” We will learn more about collaborating on Git projects in the next episode.
Essential Git Branching Commands
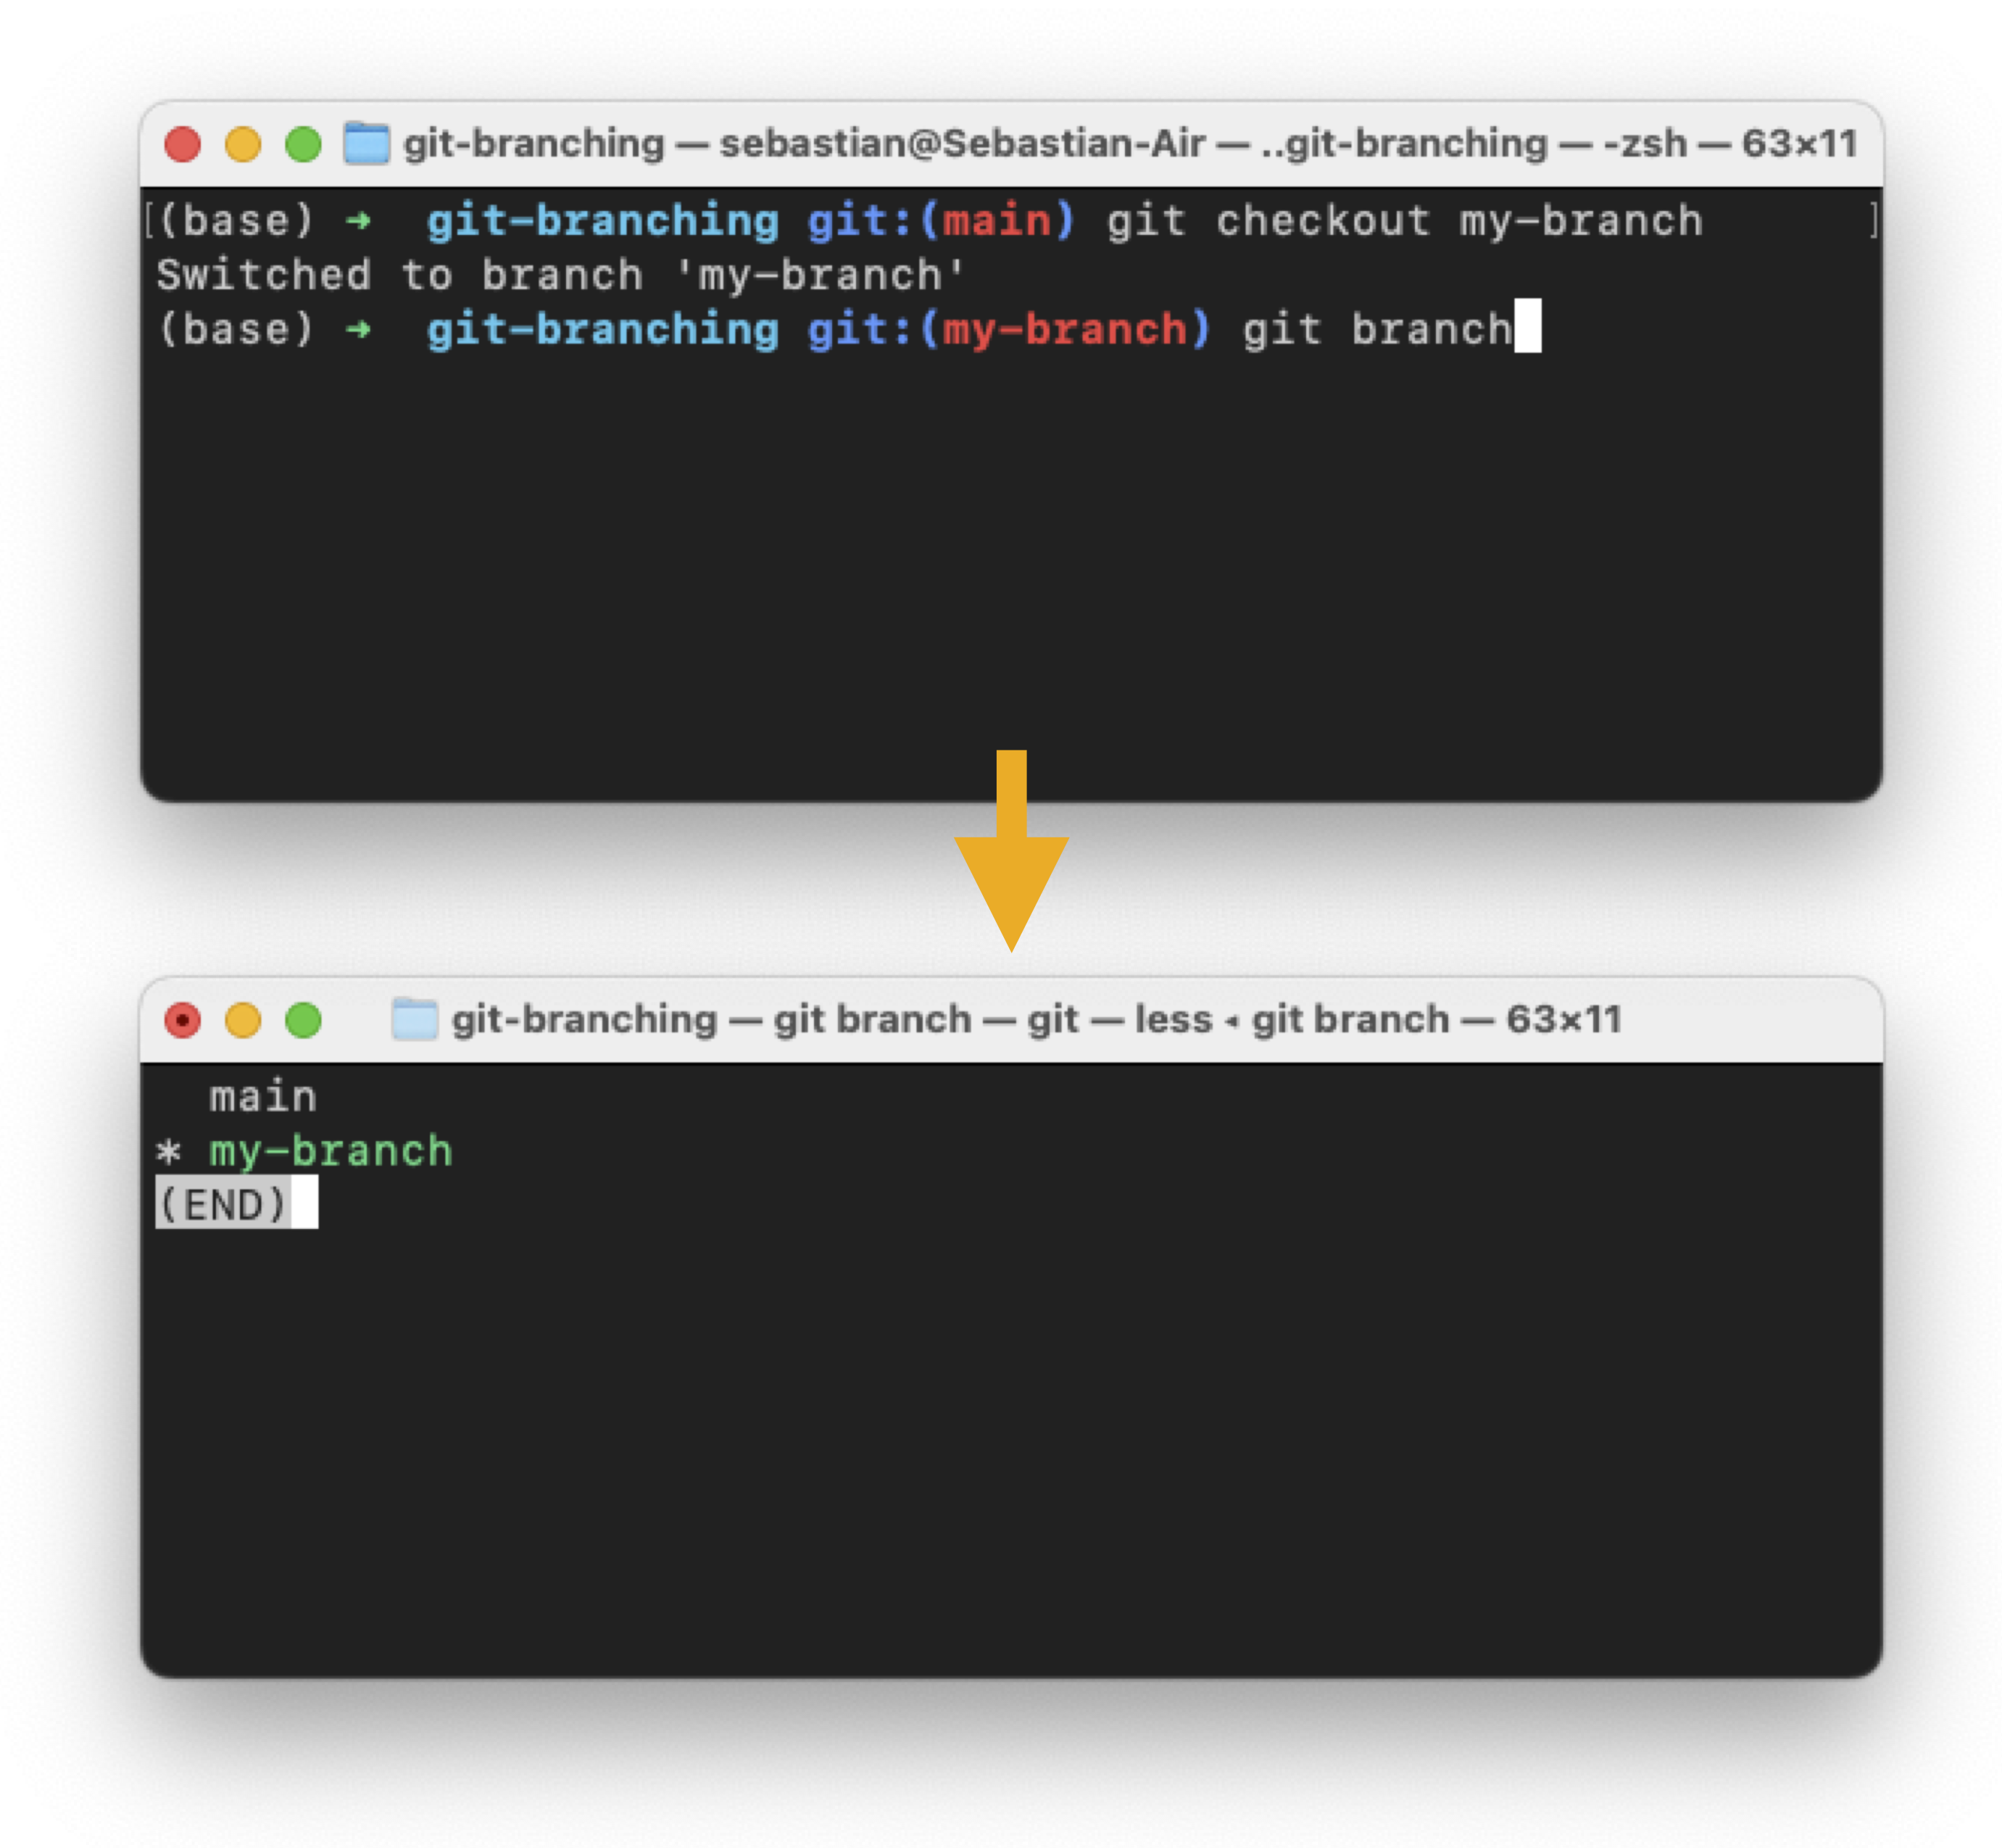
git branch: Shows a list of the existing branches in the current Git repositorygit branch my-branch: Create a new branch calledmy-branchgit checkout my-branch: Change your current “position” from the current branch tomy-branch
Side note: Renaming the Default Branch
For new repositories, you can change the name of the default branch from master to main using the following command:
git config --global init.defaultBranch main
Pro Tip
To combine the two steps git branch my-new-branch and git checkout my-new-branch, use:
git checkout -b my-new-branch
Or, if you like if you prefer your shortcuts to be even more concise, you can use gcb my-new-branch to achieve the same thing!
Merging Branches
At some point, if we like the changes we made in the current branch, we may want to merge back these changes into the main branch
git checkout main: Switch back to the main branchgit merge my-branch: Merge the branchmy-branchinto the currently active branch (here:main)git branch -D my-branch: Optionally delete the branch to clean up your Git repo
Side note: Rebasing
Some people prefer a workflow based on git rebase. Usually, this means applying the changes on top of a current branch. Or more concretely, you may be asked to rebase your current commits in the feature branch (my-branch) on top of the main branch.
If you want to learn how rebasing works, we recommend this excellent tutorial.
Stay tuned for future episodes of Lightning Bits! Also, If you have questions or suggestions, please don’t hesitate to reach out to William (@_willfalcon) and Sebastian (@rasbt) on Twitter or join us on Slack!