Train And Explore Generative Adversarial Networks (GANs) Interactively With Lightning Apps
In this article, we will build a simple Lightning App to create a GAN (generative adversarial network). We will train it with PyTorch Lightning and make a simple dashboard with Gradio, using the beautiful and seamless integration provided by the Lightning framework.
To start, we need to install Lightning, but first, I will create and activate a new Python 3.8 environment for my new app. Check out this Lightning Bits episode to learn more about why this is important. To manage Python environments, I use conda.
$ conda create -n lit-gan python=3.8

$ conda activate lit-gan
While my conda environment is being created, let’s review what we know about GANs.
A Generative Adversarial Network is a machine learning (ML) model in which two neural networks compete with each other to become more accurate in their predictions. When implementing GANs, we need two networks: generator and discriminator. Generator is a neural network tasked with creating something out of random noise (also called seed). Discriminator is a neural network that will learn to differentiate between real and generated output. The two networks are being trained alongside each other, with discriminator’s output being used to train the generator to generate more realistic data and generator’s output being used to train discriminator to detect fakes better. In this possibly endless competition, generator has the opportunity to improve infinitely. Ultimately, we get a neural network that can generate very trustworthy data samples. It’s no surprise that GANs took the world by storm and continues to impress researchers.
If you followed me and created a new Python environment, you should already have it configured by now. The next step is to install Lightning:
$ pip install lightning
We are going to start with the Lightning App quick start template. To install it, execute:
$ lightning install app lightning/quick-start
It will create a new project directory called lightning-quick-start for you. Open it in the editor of your choice. I will use VS Code for this walkthrough, but if you have questions about why or which editor to use, check out this Lightning Bits episode on IDEs.
 Before we continue, let’s open the PyTorch Lightning tutorial on GANs. We will borrow a lot of source code from here to get our app working even faster. In this example, we will train our GAN to generate digits for the MNIST dataset.
We also need to make sure to install the dependencies we are going to use. It’s easy to do if you replace the contents of the project’s requirements.txt file with the following:
torchvision
pytorch-lightning==1.6.3
jsonargparse[signatures]==4.7.3
wandb==0.12.16
gradio==2.9.4
pyyaml==5.4.0
protobuf<4.21.0 # 4.21 breaks with wandb, tensorboard, or pytorch-lightning: https://github.com/protocolbuffers/protobuf/issues/10048 torchmetrics>=0.3
torch>=1.6, <1.9
And run pip install -r requirements.txt from the terminal.
Next, find the file named train_script.py in your IDE and replace its content with the code from the PyTorch Lightning tutorial linked above, but don’t copy the first line containing the pip install command. We don’t need it because we already installed our dependencies. However, we are going to make some modifications to it.
First, add the line saying from pytorch_lightning.utilities.cli import LightningCLI to the top of the file to import the Lightning CLI. This isn’t required, but it’s nice to have our training script modernized to use Lightning CLI because it significantly improves the quality of the development process.
Next, find the GAN class definition and make sure that the __init__ method declaration looks like this:
class GAN(LightningModule):
    def __init__(
        self,
        channels: int = 1,
        width: int = 28,
        height: int = 28,
        latent_dim: int = 100,
        lr: float = 0.0002,
        b1: float = 0.5,
        b2: float = 0.999,
        batch_size: int = BATCH_SIZE,
        **kwargs
    ):
And last, but not least, replace:
dm = MNISTDataModule()
model = GAN(*dm.size())
trainer = Trainer(
    accelerator="auto",
    devices=1 if torch.cuda.is_available() else None,  # limiting got iPython runs
    max_epochs=5,
    callbacks=[TQDMProgressBar(refresh_rate=20)],
)
trainer.fit(model, dm)

# Start tensorboard.
%load_ext tensorboard
%tensorboard --logdir lightning_logs/
With:
if __name__ == "__main__":
    cli = LightningCLI(
        GAN, MNISTDataModule, seed_everything_default=42, save_config_overwrite=True, run=False
    )
    cli.trainer.fit(cli.model, datamodule=cli.datamodule)
Now, we will make some changes to the Lightning App itself. Open the file app.py. Our quick start Lightning App consists of two works — train work and serve work — and a Lightning Flow to orchestrate them.
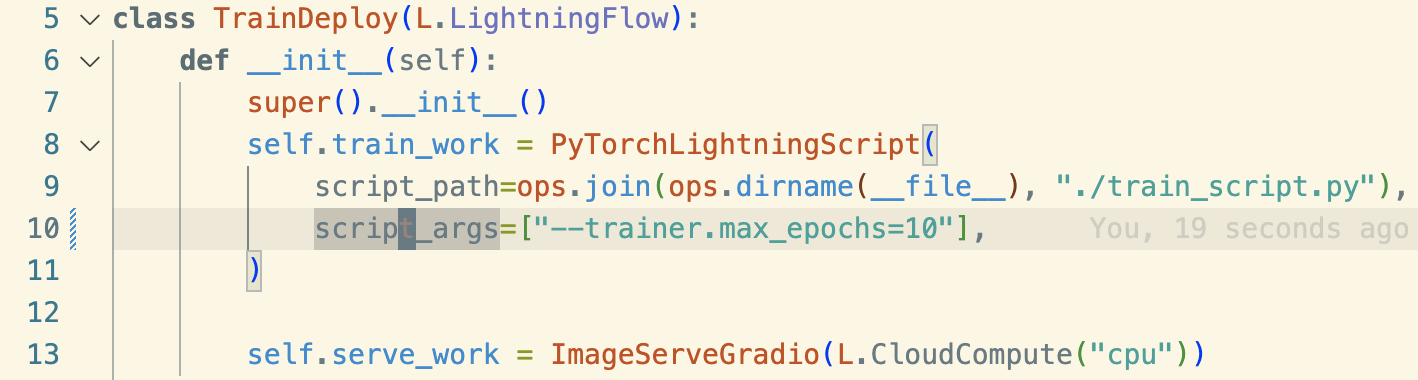 This is exactly what we need for our app, so we will leave the
 app.py file as-is, but you may want to increase the number of training epochs to get nicer results.
What we will need to modify are the train and serve works. Open the file quick_start/components.py and find the class PyTorchLightningScript. The method we are going to focus on is run. Remove the following lines from it:
download_data("https://pl-flash-data.s3.amazonaws.com/assets_lightning/demo_weights.pt", "./")
"--trainer.limit_train_batches=4",
"--trainer.limit_val_batches=4",
We will not use pre-trained weights for our GAN and we don’t want to limit the number of batches.
Also, replace:
"--trainer.callbacks.monitor=val_acc",
With:
"--trainer.callbacks.save_last=true",
This makes Lightning always save our model at the end of training.
Next, find the line that says checkpoint = torch.load(res["cli"].trainer.checkpoint_callback.best_model_path) inside of the on_after_run method and replace best_model_path in it with last_model_path. This will make sure that we are exposing our model to the serve work after training.
That’s it. We are done with our training work. When we run the app, the training work will train the model, save the weights, and expose the path to the weights as the best_model_path property. Now, we will replace the ImageServeGradio class with the following code:
class ImageServeGradio(ServeGradio):

    inputs = [
        gr.inputs.Slider(0, 1000, label="Seed", default=42),
        gr.inputs.Slider(4, 64, label="Number of Digits", step=1, default=10),
    ]
    outputs = "image"
    examples = [[27, 5], [18, 4], [256, 8], [1337, 35]]

    def __init__(self, cloud_compute, *args, **kwargs):
        super().__init__(*args, cloud_compute=cloud_compute, **kwargs)
        self.model_path = None

    def run(self, model_path):
        self.model_path = model_path
        super().run()

    def predict(self, seed, num_digits):
        torch.manual_seed(seed)
        z = torch.randn(num_digits, 100)
        digits = self.model(z)
        save_image(digits, "digits.png", normalize=True)
        return "digits.png"

    def build_model(self):
        model = torch.load(self.model_path)
        for p in model.parameters():
            p.requires_grad = False
        model.eval()
        return model
And don’t forget to add from torchvision.utils import save_image at the top of the file.
This ImageServeGradio class extends on Lightning ServeGradio, creating two inputs (sliders to control the random seed and the number of digits that our GAN will generate),one output (an image), and a list of examples. This class also defines the run and build_model methods used to load the model and the predict method, which runs inference on our model.
Now, we can run our new GAN Lightning App:
lightning run app app.py
The app will launch and open a new page in the browser, where you can see two tabs. The first Model Training tab contains TensorBoard, where you can explore any logs and metrics that your train_script.py is logging (feel free to add more TensorBoard logs there 😉 ), and the second Interactive Demo tab will show you a loading spinner until the training is complete. That’s ok; you can monitor the training progress either in TensorBoard or in the terminal logs.
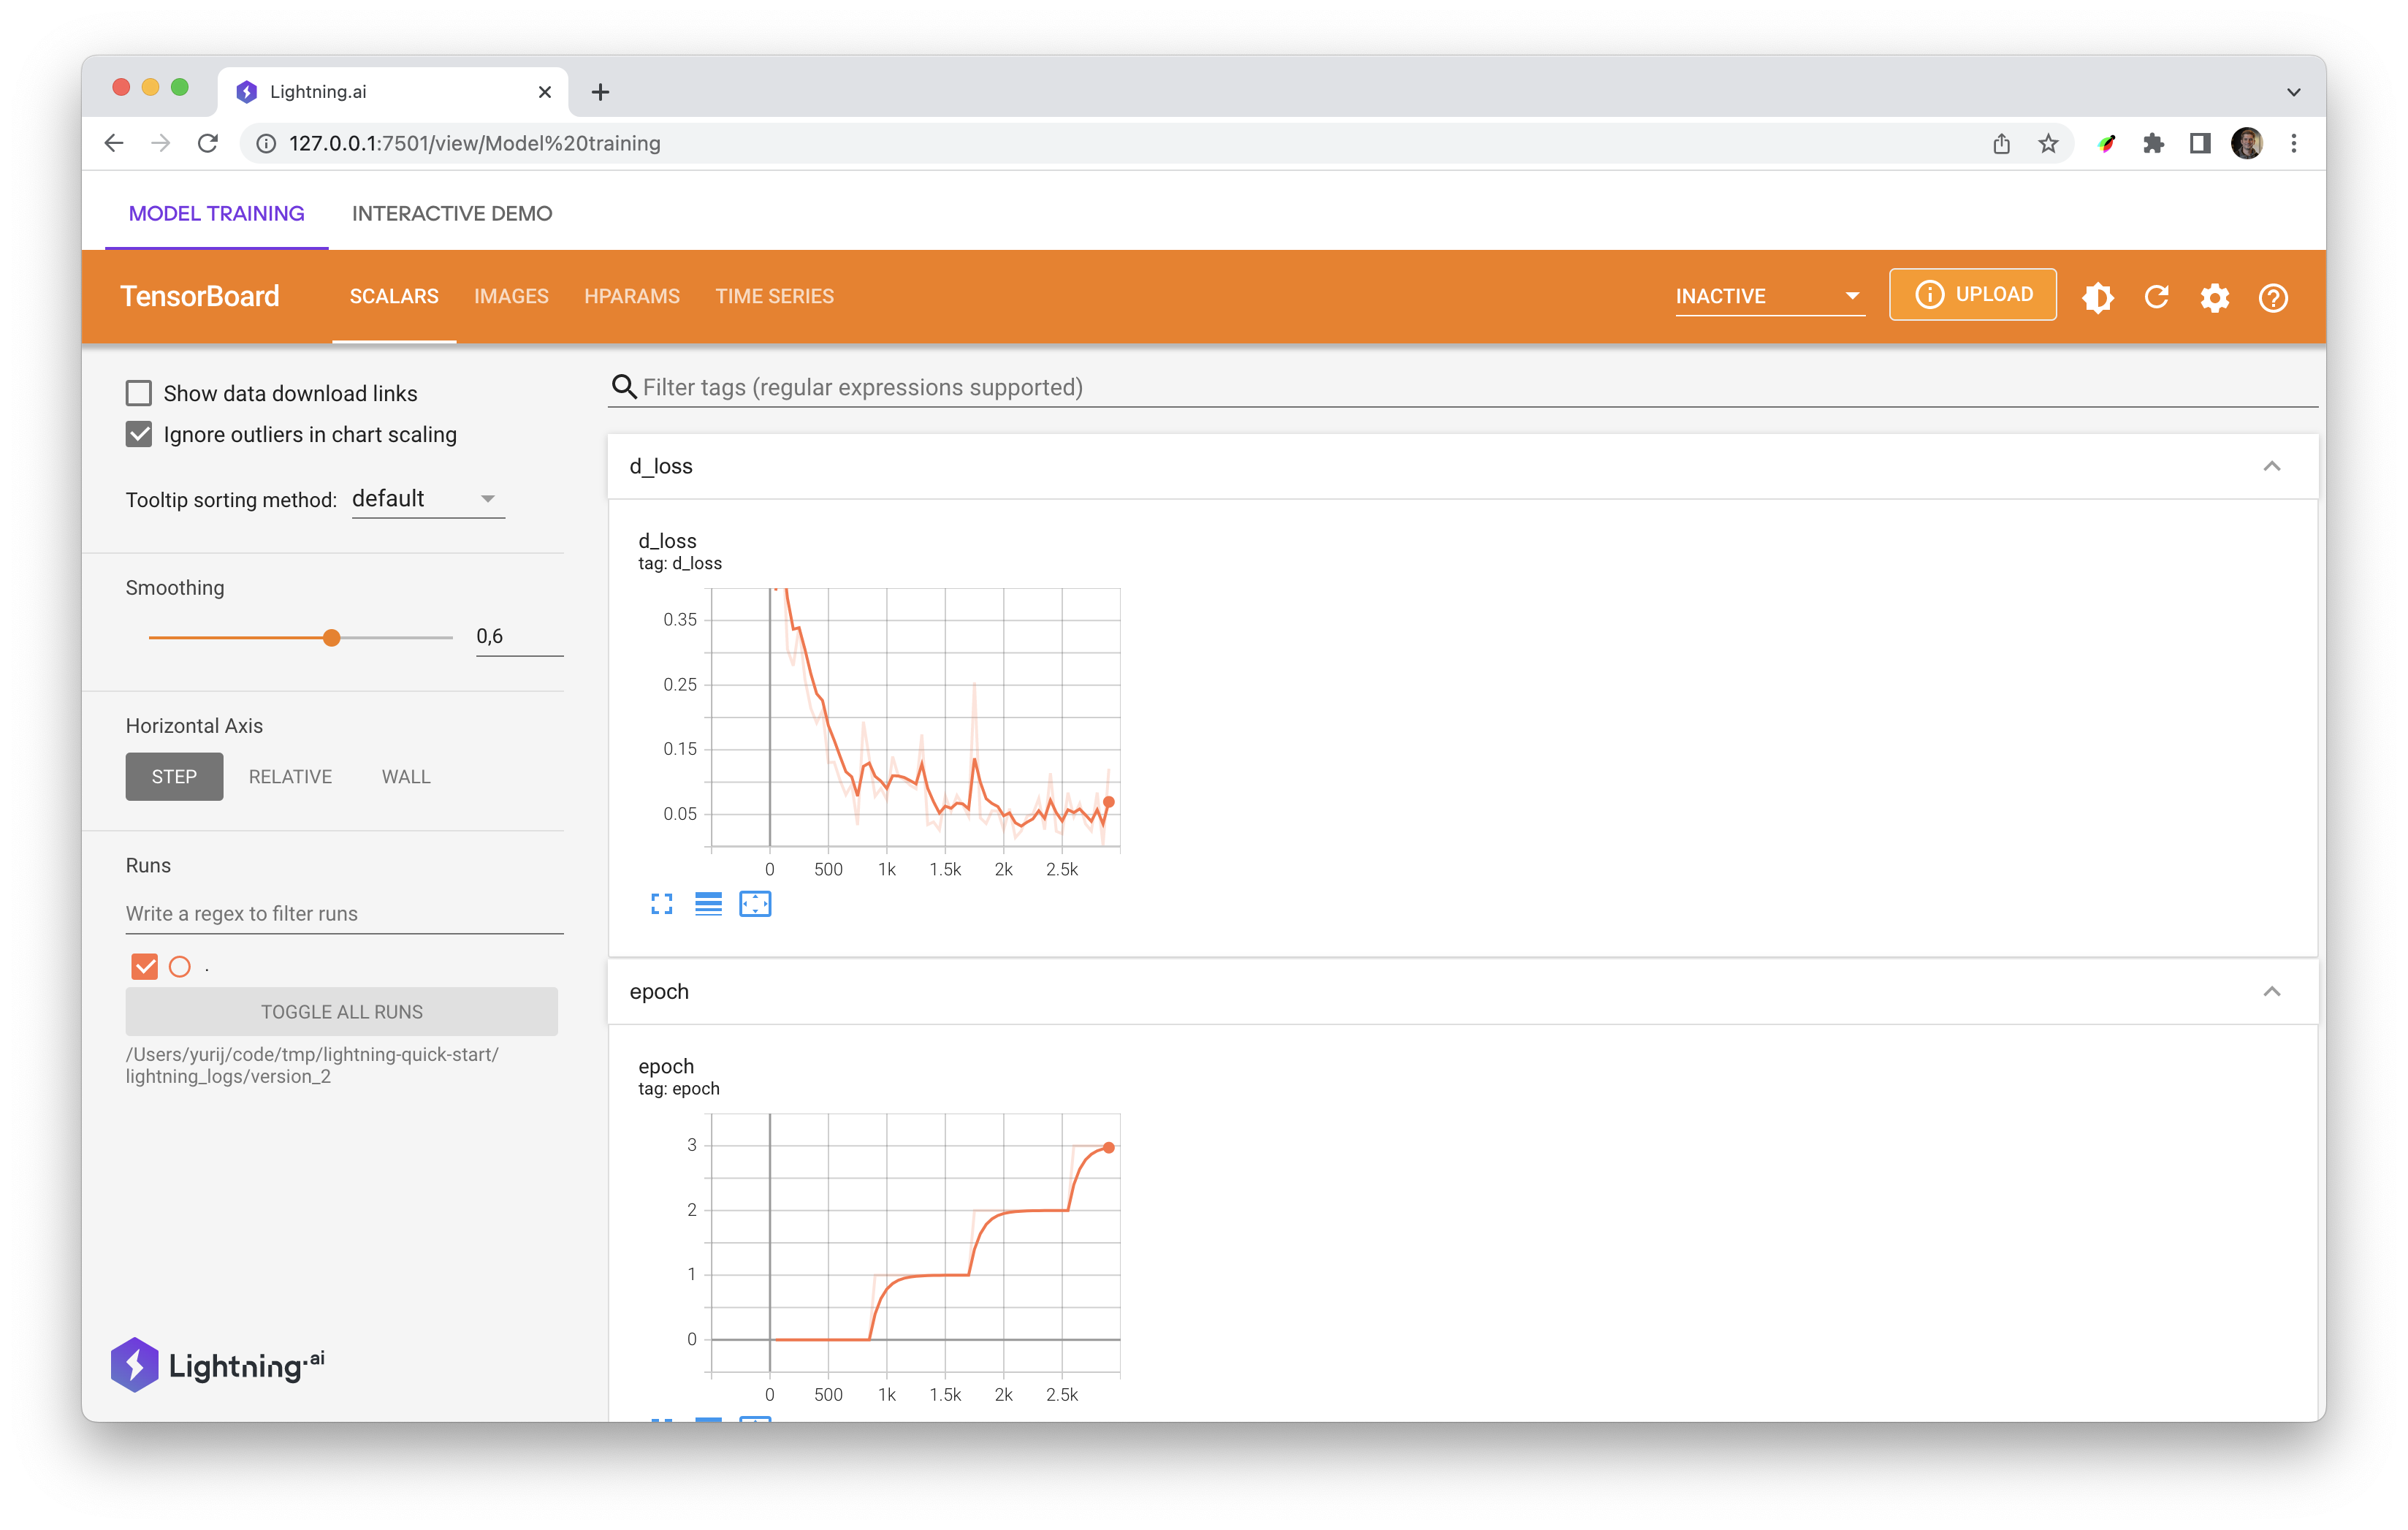 TensorBoard tab
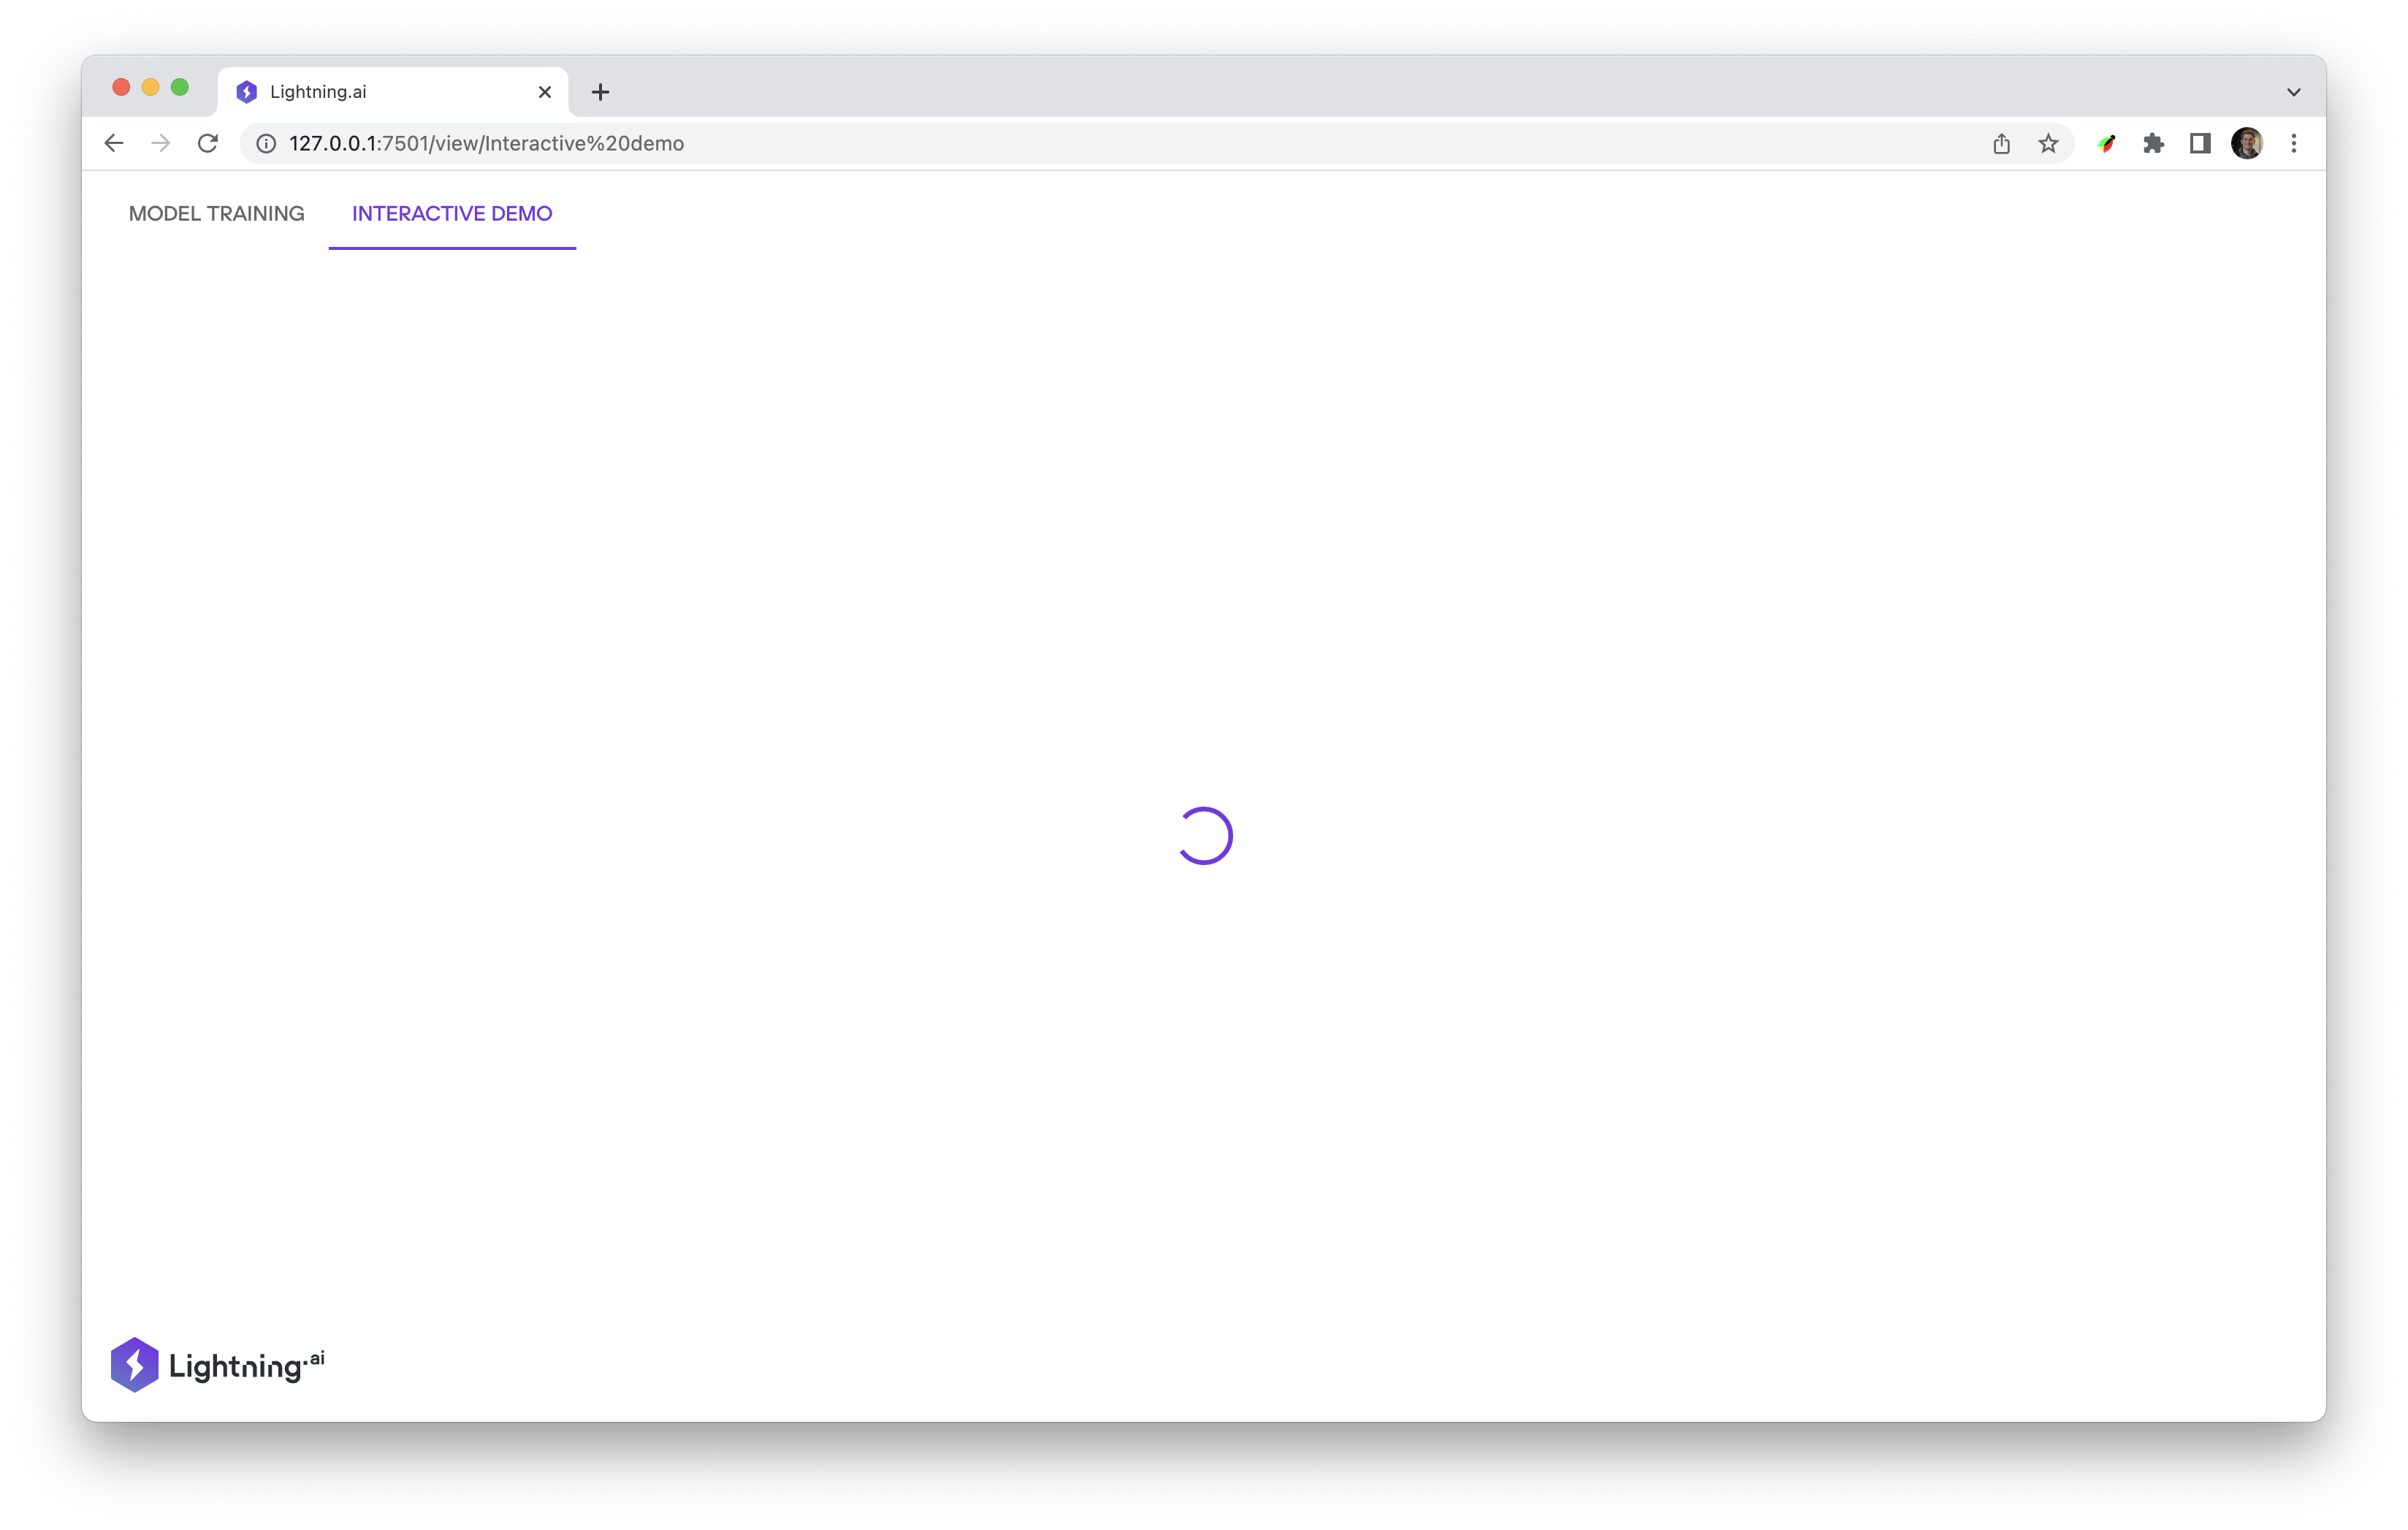 “Loading” Interactive Demo tab
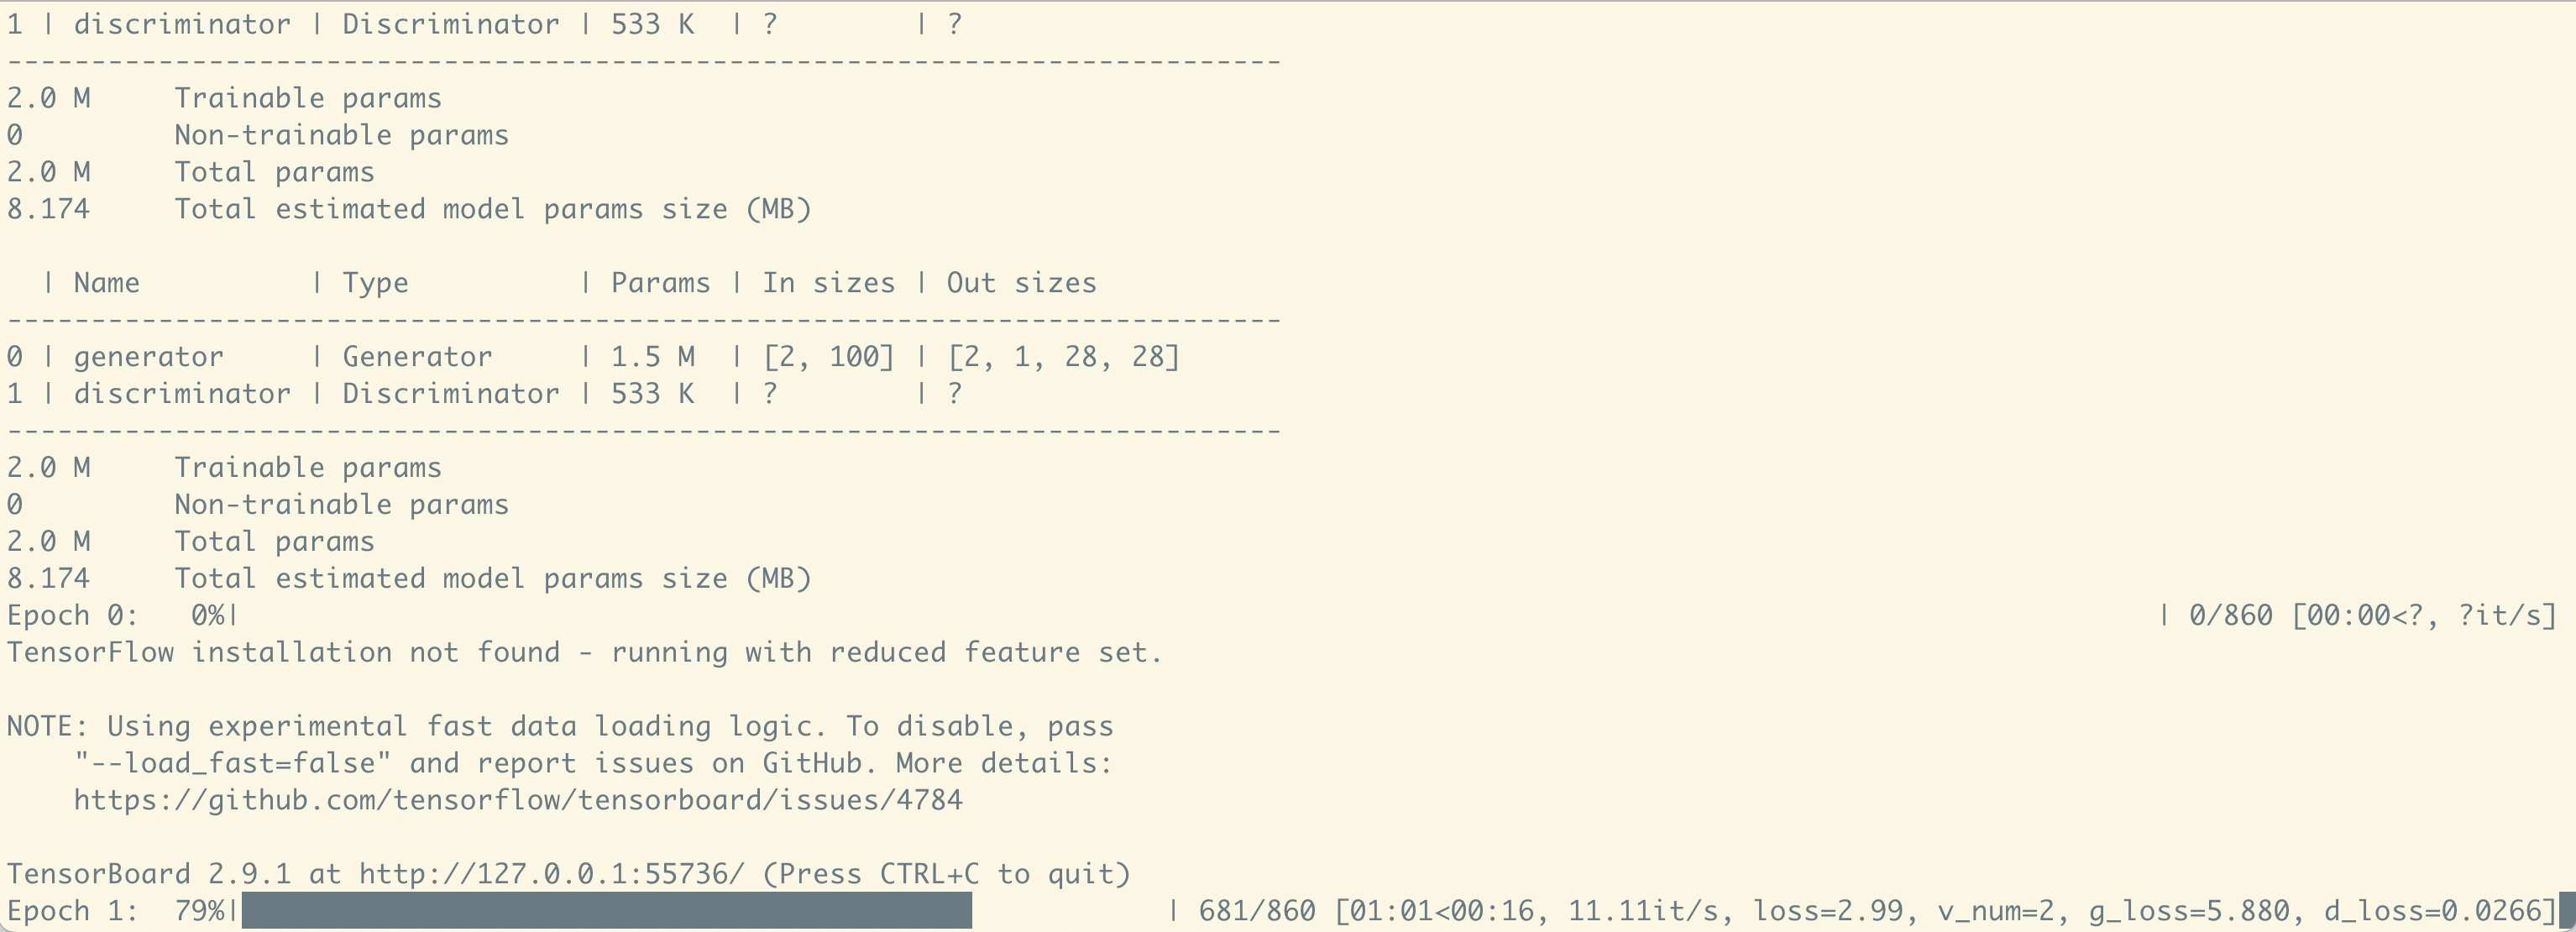 Logs in the terminal
Once the app is trained, the Interactive Demo tab will load, and you’ll be able to generate some MNIST numbers here.
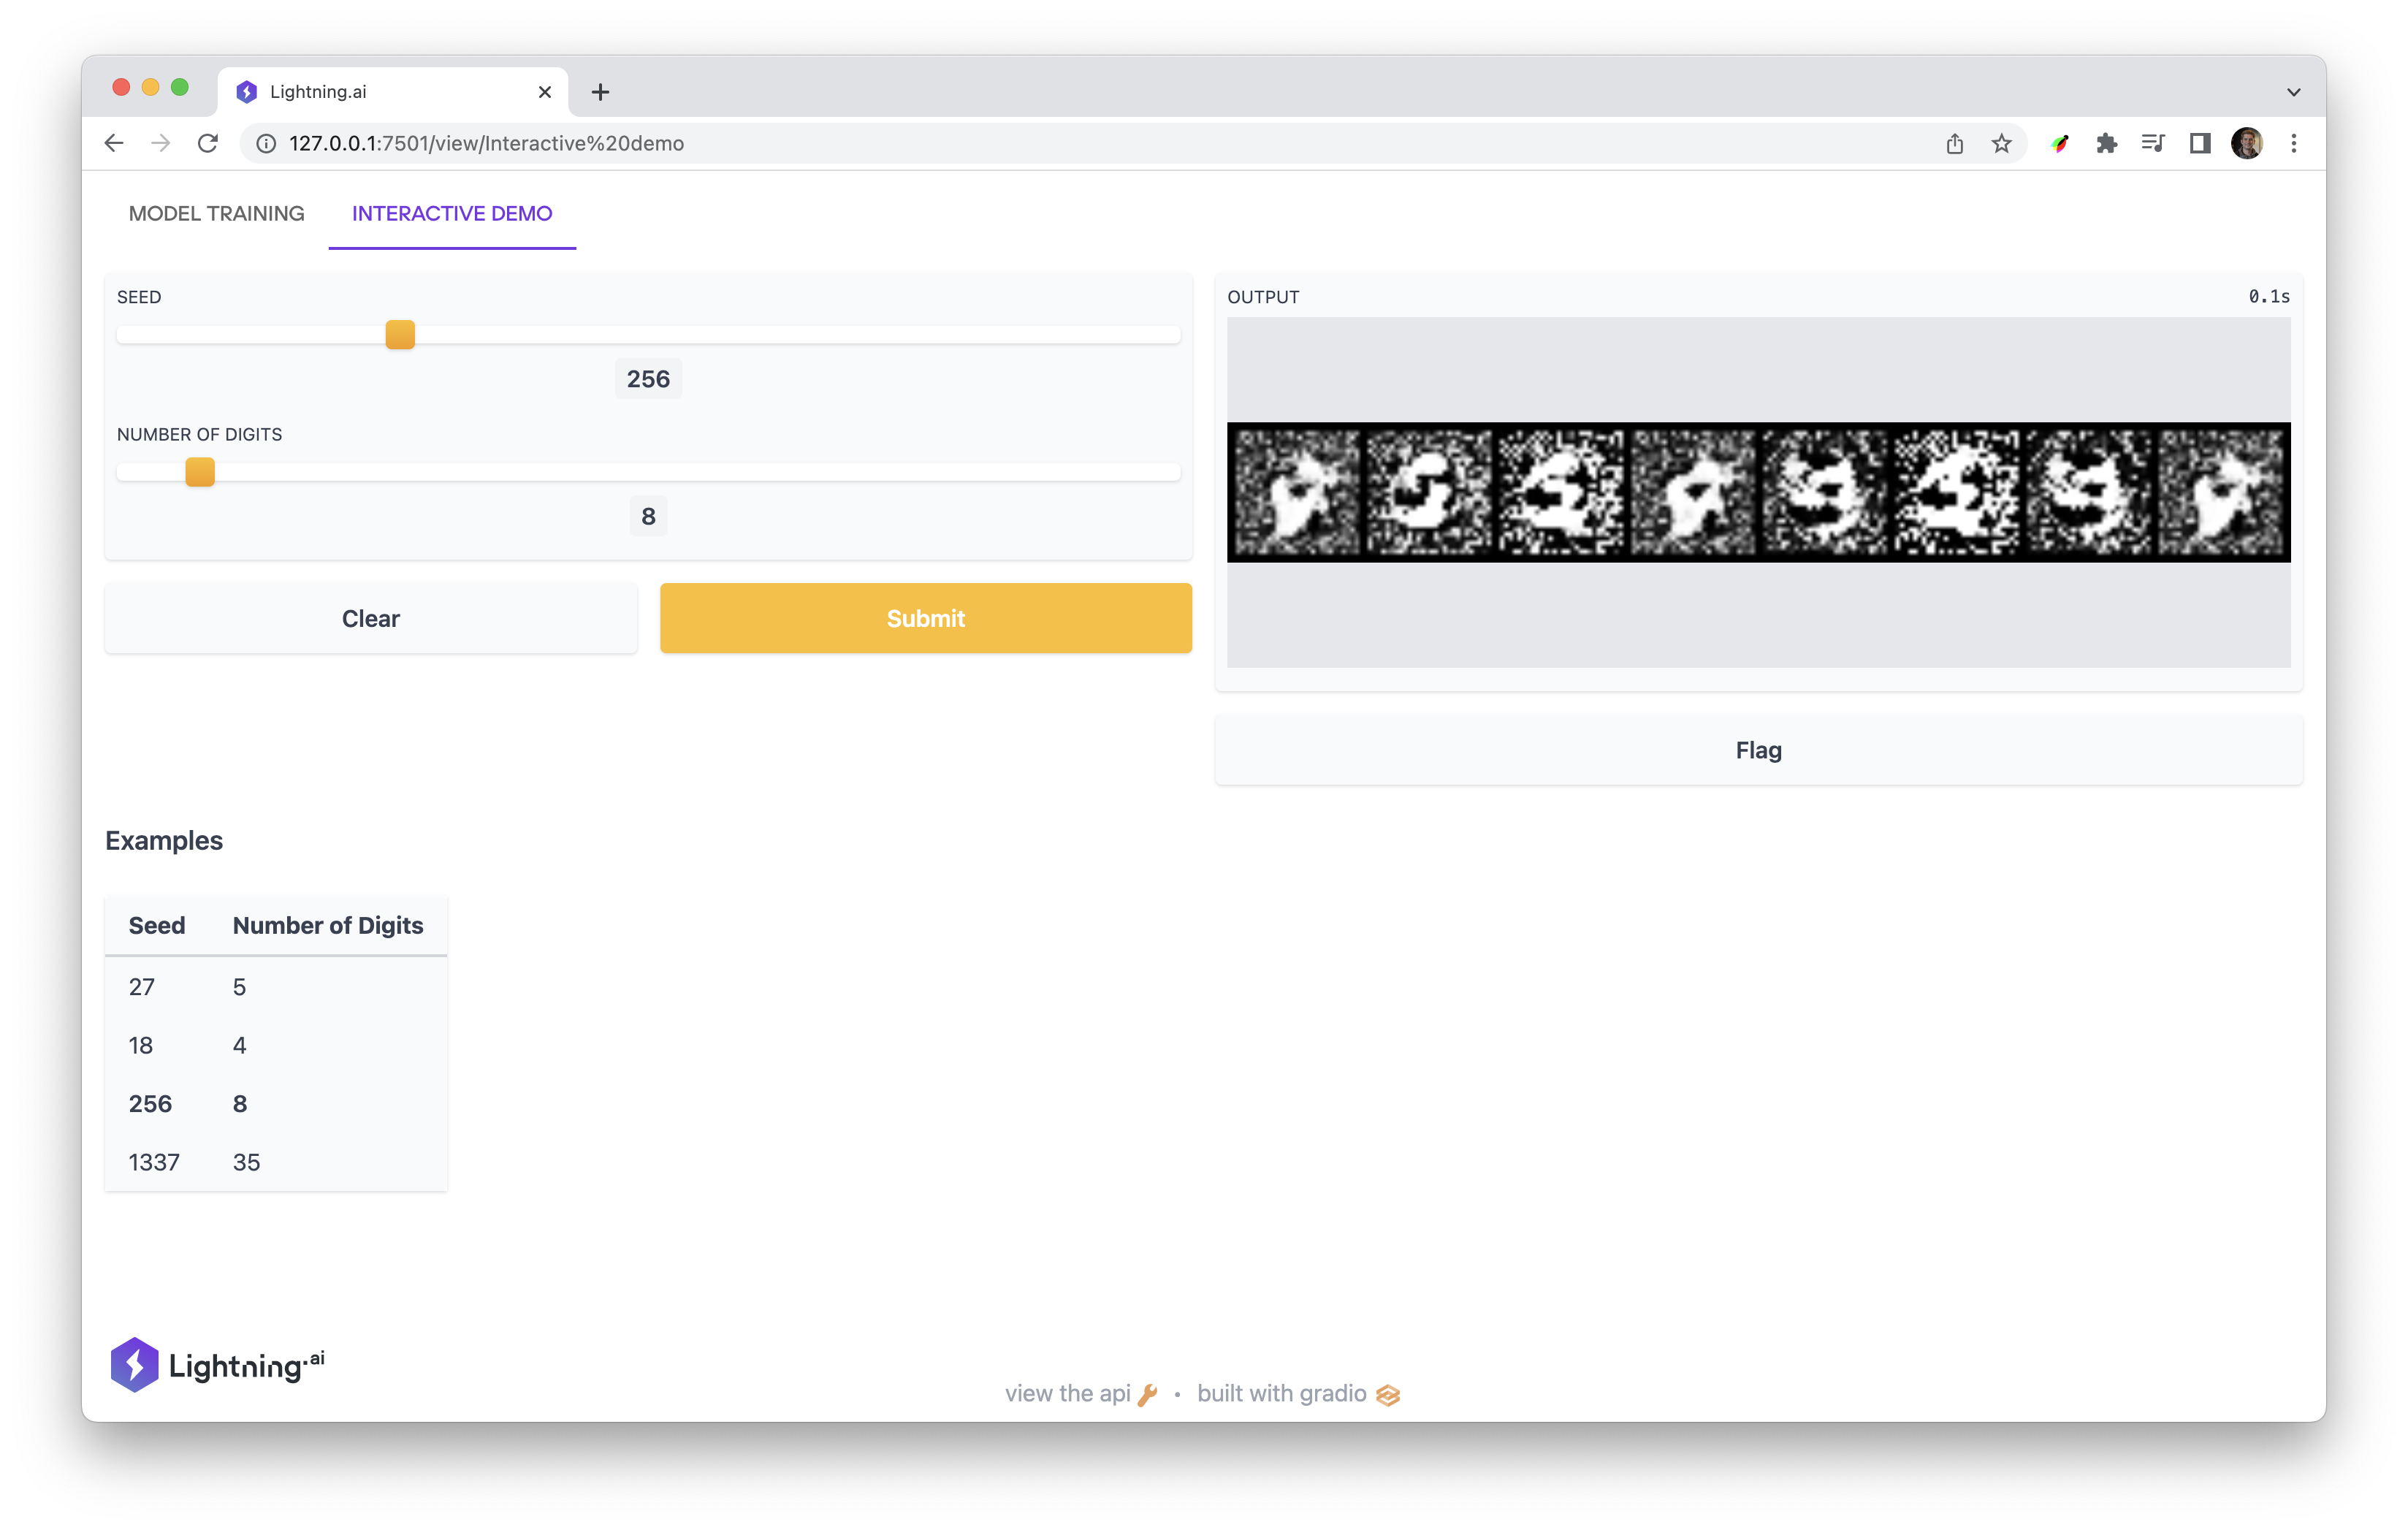 Play around with the seed and the number of digits to see different results. You can also tune hyperparameters and the models in
 train_script.py to improve the results.
If you followed this article, you now have a running GAN Lightning App. It is impressive how easily you can build a functional and interactive Lightning App with a custom UI, but it’s only the beginning. I am sure you can create so much more with Lightning, and I can’t wait to see what you build! Join our Lightning community to see what others are building and share what you’ve built.
If you have more questions, check out the GAN app’s source code, or read the Lightning documentation.
PS: you can also run your app in the cloud without changing a line of your code! Just add --cloud to your run command:
lightning run app app.py –cloud
Keep building with Lightning!
By Yurij Mikhalevich, Senior Software Engineer Lightning AI